Whether it’s Thanksgiving, the holidays or any large family get-together, carving the turkey can be a daunting experience if you’ve never done it before.
Even if you’re a skilled cook, those expectant hungry faces and the sense of occasion are enough to make anyone feel nervous!
Don’t panic. To ensure you get the job done well, we’ve compiled this comprehensive guide to carving a turkey. Suitable for complete beginners and experienced carvers alike, we break down the process into easy-to-follow steps and give you plenty of useful tips and tricks along the way.
After reading our guide, you’re guaranteed to look like a turkey carving champion and impress your guests when the big moment comes!
When it comes to carving a turkey, like most things in life, it helps to be prepared. So, here’s a rundown of what you’ll need to do it right.
Set up a turkey carving station
Setting up a turkey carving station is a great way to make sure you have everything you need to hand and adequate space to focus on getting the most out of your turkey.
As with most kitchen equipment, there’s a huge choice of carving products available, from expensive, professional-quality items to more budget-friendly choices.
If you’re new to carving up roast meats and cooking in general, then we suggest going for lower-priced items and upgrading as your skills improve.
Here’s what you’ll need:
- A sharp carving knife – while you could spend a lot on a premium model, if you want a more affordable carving knife that will do the trick, something like this model makes a great choice.
- A cutting board – ideally a very large cutting board or butcher block with a juice groove. Once again there are some beautiful models out there, some have special juice wells and areas to hold the bird stable, like this one. However, if you’re looking for something more affordable, this cutting board is a great option.
- Kitchen towel/paper – carving a turkey can get messy, so make sure you have something to mop up any juices and wipe your knife and hands as needed.
- Serving platter – to transfer your sliced meat to and serve at the table.
- Carving fork/spatula/tongs – not essential, but these can be useful for transferring your sliced meat to the platter and help you stabilize the bird when carving.
A step-by-step guide to carving a turkey
So, now you’re all set up and ready to go, let’s get started!
If this is your first time carving and you’re feeling a little nervous, don’t be. We’ll guide you through step-by-step for the easiest, hassle-free way to carve up your turkey.
1. Get organized
Before you delve in, make sure that you have your carving station set up with everything you need as detailed above. You will need a stable surface, as free from clutter and other dishes as possible, with plenty of elbow room.
While it may be tempting to get the carving out of the way early on, you should ideally leave it until just before serving to ensure that your turkey stays warm and is well-rested.
2. Removing the legs
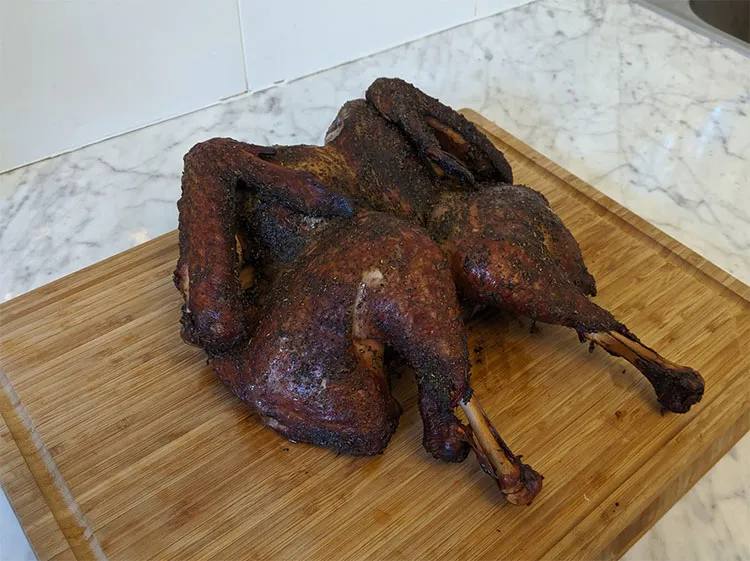
Place your cooked, rested turkey in the center of your cutting board with the cavity facing towards you.
We’re going to get our carving started by removing the legs. This leaves the breasts exposed and your tasty thighs and drumsticks ready for slicing.
Here’s how:
- Run the tip of your carving knife through the skin between the breast and the leg.
- Once you’ve cut through the skin, pull back slightly with your free hand to expose the joint that connects the legs to the body.
- Now you’ve found the joint, take your knife and run it around the exposed joint cutting through it and any skin to completely detach the leg.
- Place the turkey leg to one side and complete the process for the second leg.
You could go ahead and prepare your legs now, but while you’re doing such a good job tackling this bird, we say go for it and get everything removed before slicing.
3. Removing the breast meat
With the legs out the way, let’s move on to the breast meat.
Now, some folks like to remove the wings here and to be honest, that’s absolutely fine. However, leaving the wings on gives you extra stability when removing the breast meat, especially the second side. Therefore, we recommend leaving the wings on until last.
- To start with, run the tip of your knife along the keel bone, the dark bone in the middle of the breast.
- With long sweeping, delicate incisions and using your hand to gently prise away the breast, cut deeper and deeper feeling your way around the ribcage.
- Slice free any attached skin and place the breast to one side before completing the other side of the turkey.
Some people prefer to slice the breast while it’s still attached, but this approach makes it hard to get that delicious crispy skin on each piece.
4. Removing the wings
Now for our final carving stage, before we get on to the slicing – let’s get those tasty wings off.
- With the breast meat removed, the wings are fully exposed and it’s easy to find the connecting joint.
- Simply tug on the wing and slice through the joint and any skin, removing the wings.
5. Slicing up the meat
Make sure you have your serving platter handy, ideally you want to transfer your meat straight away after slicing each part. A warmed serving platter is a great way to stop your meat from going cold before it reaches the table.
How to slice the turkey breast meat
Slice through each breast individually. For the best texture and taste, you should cut through the breast meat across the grain. Slice evenly into fairly thick pieces of around a quarter inch, ensuring that you slice on a slight angle.
Be careful with your fingers throughout this step as it’s all too easy to nick a bit of skin, especially if you don’t use a carving knife often.
While you’re slicing up the breast, try to keep the skin intact on each slice. This can be pretty tricky, however, it’s worth trying. Holding the slice close to the unsliced part as you cut down and through can help it to stay in place.
Once sliced to perfection, push together your slices to reconstitute the whole, breast, run your knife or a spatula underneath and transfer it to your warmed platter. This is a neat, hassle-free presentation tip which will also help to keep your meat warm.
How to slice leg meat – drumsticks and turkey thighs
This step is optional. I usually like to leave the drumsticks and thighs whole as some people love to eat the whole bit. But if you’re cooking for lots of people then you might not have a choice.
First of all, you need to separate the drumsticks from the thighs. To do so, simply locate the connecting joint with your finger and slice through.
Either serve your drumsticks whole or hold them upright and slice the meat off in downward slices. To serve up your thighs, slice the meat down each side of the bone. Once deboned, remove the meat from your board to your platter.
Preparing the wings
Often overlooked, turkey wings are extremely tasty. While the wings are actually in three parts, you’ll only want the first two for your table. Take a wing and run your knife down the separation and slice straight through the joint. Cut off the tips at the second joint.
Place the first two meaty wing sections on your serving platter and conserve the tips for making stock.
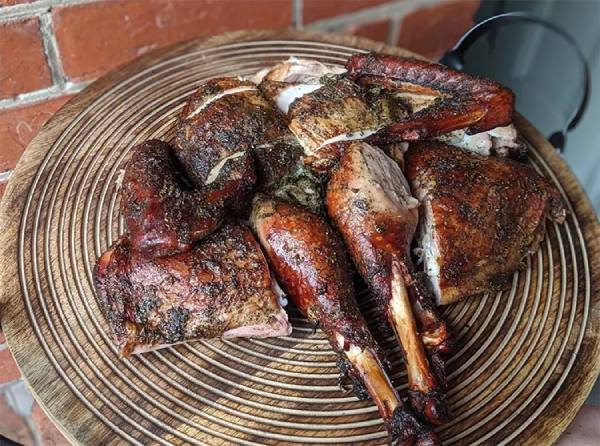
And there you have it, your perfectly carved turkey is ready to serve!
Arrange your sliced turkey meat as artistically as you desire on the best serving plate or board you own.
Tips for carving a turkey correctly
Our simple step-by-step guide above will ensure you’ll have a beautifully carved turkey with no hassle. However, if you’re a bit of a perfectionist, or you’d like to know a few extra turkey carving tricks, check out our tips below.
What’s the best temperature to carve?
As soon as your turkey heats up to 165 degrees on the breast section it’s cooked and can be removed from the heat (you can use a probe thermometer to check this).
If you were wondering, yes, you can carve your turkey cold. However, be careful when reheating as this can dry out your meat if you leave it in the oven for too long once sliced.
How long should a turkey rest before carving?
Most cookbooks and recipes recommend that you rest your turkey for around 30-45 minutes before carving.
The main argument is that not only will it be cooler and easier to handle, resting your turkey after cooking ensures that all of those bubbling hot cooking juices redistribute into the meat, rather than pouring out at the first incision.
It turns out that resting doesn’t actually “redistribute” the juices, and is more likely to make the skin go soggy. Especially if you cover the turkey in aluminum foil.
You’re fine to start carving as soon as you take the turkey is cooked.
Conclusion
So there you have it, our step-by-step guide for stress-free turkey carving! Simply remove the legs, breasts and wings, then slice and serve.
And don’t forget – the key to a juicy, moist turkey lies in leaving it to rest before you start to carve.
Now that you know all that there is to know about carving up a turkey, it’s time to put words into action and get carving!
Be sure to let us know how you get on in the comments section below. And if you have any friends that could benefit from some insider knowledge, share our article to let them know how it’s done!