I love my charcoal grills. Like, I really, really love them. I love them so much that I own 4 different kinds of charcoal grills.
While I do most of my outdoor cooking on them, my favorite thing to cook over flame would definitely be a nice thick medium rare steak.
If you’ve never had a steak prepared over charcoal, man are you missing out! There is something about the subtle smokey flavor that really makes beef stand out.
In this article, we’re going to run down what you need to know to be able to grill an awesome steak over charcoal.
What to look for in steak
Before we go over the step by step on how to actually grill your steak, let’s go over some of the basic things you need to know when it comes to choosing your stake, and what you’ll need before you fire up the grill.
1. Type of Steak
Confession time: for years I used to aimlessly meander the meat aisle at the supermarket, not knowing what the heck I should buy.
I’d pick up different steaks, look at them like I knew what I was looking for (I didn’t), then eventually decide on something at random.
God, did I ever cook some awful steaks.
If you’re new to cooking steak and don’t know what to buy stick to the steakhouse classics. You will never go wrong with cuts T-bone/Porterhouse, striploin, filet mignon, or ribeye.
2. Grade of Beef
Once you’ve narrowed down the cut of beef, you need to decide on the grade of beef you want. See, not all beef is created equal.
All beef is graded depending on the amount of intermuscular fat that runs throughout it (the traces of white fat you see in your steak). Fat = flavor, and the more fat that is running throughout the steak, the more flavorful it will be.
In the USA the beef you find in your supermarket is typically graded as choice or select, with the choice having more fat than select. You can also make a trip to your butcher and see if they have any prime grade beef, which would contain even better marbling than choice.
My recommendation: never grill a steak that is not graded at least choice.
3. Thickness
When it comes to steak, typically the thicker it is the better. A thin steak will cook too quickly and you won’t be able to give it a proper sear on the outside without risking it being overdone on the inside.
A steak that is at least 1” thick allows you to avoid that.
For really thick steaks, the reverse sear method is an even better way to cook.
What you Need
You don’t need much to cook a steak over charcoal. A short list of requirements would be:
- Charcoal Grill
- Charcoal Chimney & Lighter Cube
- Charcoal (either lump or briquettes are fine)\
- Digital instant-read thermometer
- GrillGrates (optional – more on those in a minute)
- Seasoning/Spice Rub
- And of course, steak!
Step by Step Guide for Grilling Steak
In the video below, Malcolm Reed of HowtoBBQRight breaks down his step by step guide to grilling a perfect, medium-rare steak every time.https://youtube.com/embed/QNdlI7Fpc6M?feature=oembed
Let’s get the rundown.
1. Apply Seasoning to your Steak
The first step is to apply a little seasoning to your steak. Malcolm recommends his All Purpose seasoning that is comprised a mixture of salt, pepper, and garlic.
These are classic steak seasonings that will always go well. If you don’t have access to Malcolm’s AP Seasoning, simply apply a little salt, pepper, and garlic of your own.
2. Light Charcoal
Since you have to wait an hour for your steak to dry brine, it doesn’t make sense to light your charcoal until after you have seasoned your steak.
Load up your charcoal chimney and light a fire starter underneath it. Once your charcoal is ashed over completely, dump it into your grill.

You have a couple of options for how you are going to place your charcoal, depending on the equipment you have on hand.
If you have a set of GrillGrates (more on those in a minute), you may choose to dump your charcoal in the center and space it evenly throughout your grill.
Otherwise you may simply choose to bank your charcoal to one side of your grill. This way you’re able to sear over direct heat as per the below instructions.
If your steak is not finished you can lay it on the cool side away from direct heat and avoid burning your steak.
3. Add some more seasoning (optional)
This step is completely optional, but you can add more coarse seasoning now like Montreal Steak Spice. According to Malcolm this will add an extra layer of flavor and improve the texture and crust on the outside of the steak.
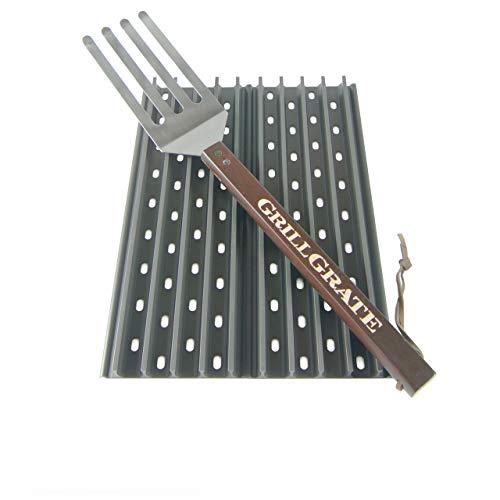
4. Use GrillGrates (optional)
GrillGrates are an amazing aftermarket product that will give you the best sear marks of your life. Made of anodized aluminum, GrillGrates increase the grill surface temp, reduce flare-ups, and eliminates hot spots on your grill.

- New & Improved Grilling Surface
- ELIMINATES FLARE-UPS: Stop shuffling your food around to avoid charring. GrillGrates patented design eliminates flare ups so common to all gas grills. The raised rails amplify heat while aluminum...
- NEVER RUSTS: Made from highly conductive hard anodized aluminum.
While they are optional, it is no secret that Malcolm loves his, and he has used them to win many steak competitions.
In fact, GrillGrates are so amazing when cooking a steak, that they are used by almost every competitor on the Steak Cookoff Association competition circuit.
5. Place on grill and cook
Once your charcoal is ashed over, dump out your charcoal chimney and place your cooking grate on your grill.
- Let your grill heat up – you want them to be at least 500°F.
- Place your steaks on your grill and put the lid back on.
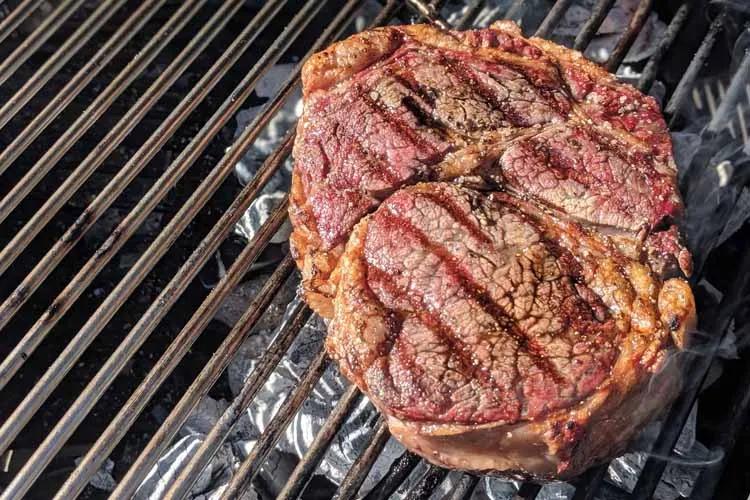
- After two minutes, rotate the steaks 90°; this will give you perfect sear marks.
- After another two minutes, flip them over.
- After the next 2 minutes, rotate them another 90° for the final 2 minutes of cooking.

Please note that your cooking time may vary. Depending on the thickness of your steak, the cooking temp at grate level, and so on your steak may cook faster or slower than what we explained.
Tips for the perfect grilled steak
Outside of the tips and methods Malcolm shares above, here are some simple tips to ensure you serve a steakhouse quality steak, every time.
Use a dry brine
Dry brining is the process of applying salt to meat prior to cooking it.
When you salt the exterior of your meat, the salt draws moisture out of the meat that then dissolves the salt, before finally being reabsorbed back into the meat. This gives us an ultimately juicier, more flavorful steak.
You can use just salt, or you can do like Malcolm did in the video and use a rub that contains salt.
Use a thermometer
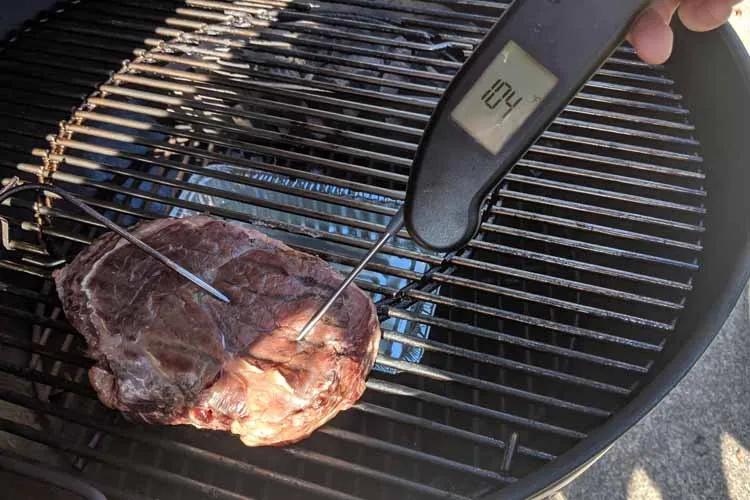
I can’t say this one enough. Use a quality digital instant-read thermometer. I have a Thermapen Mk4 and I can’t recommend it enough.

Check your steak while you are cooking it to make sure you know when it is almost done and to ensure you do not overcook it.
Resting steak?
Some people swear you have to rest a steak to allow the juices inside to settle. I tend to disagree.
Meathead from AmazingRibs.com did an amazing job debunking this myth on his website.
While technically yes, you may lose some more juice from your steak if you remove it from the grill and immediately slice it into a dozen or so pieces, that is likely not what will really happen when you are cooking a steak to serve and eat.
What is likely going to happen, is that you will bring the steak into the kitchen, then take 2 – 5 minutes to get the sides ready, turn off your grill/close your grill vents, and get seated. Then you’re going to slice into your steak one bite at a time.
To sum it up
As we’ve outlined, it is not very difficult to make amazing steaks in the comfort of your own home. You can pick up a new Weber Kettle grill for pretty cheap, and after a quick trip to the grocery store you can be cooking up delicious steaks on your patio in no time.
What about you? How do you like to prepare a steak? Do you think there are any glaring omissions that we’ve missed out? Leave us a comment down below with your favorite methods to prepare a steak.